Plaid Drawing Tutorial
Plaid Drawing for Kids
There are a large number of surfaces and models that are well known all around the planet. One of these popular surfaces is plaid, which is regularly associated with Scottish bagpipe players. It has come to be a renowned arrangement, generally speaking, and despite its obviously fundamental arrangement it might be a test to sort out some way to draw plaid suitably. Learn this blog and visit the more drawing tutorials like Pinkie Pie Drawing idea.
This challenge conceivably exists when you have no idea about the advances toward take, and this guide will show you those methods! We believe that you participate in this little by little aide on the most capable strategy to draw plaid you will really need to repeat this excellent model quickly
Stage 1 – plaid drawing
This surface plan is isolated into piles of straight lines and numerical shapes, so we will focus in on these parts only for this helper on the most capable technique to draw plaid. To start this cycle off, you can characterize three vertical limits as shown in our helper. These will have a particularly slight curve to them, and will be basic to making the rest of the model later.
At the point when you have these lines drawn, we’re ready to forge ahead toward stage 2!
Stage 2 – Characterize a couple of extra vertical limits for the model
This resulting phase of your plaid attracting should be basic for you to get done, as you will advance forward from what you started in the underlying step. To do this ensuing part, you ought to just repeat unequivocally careful thing you did from the underlying step. That infers that you will draw three extra similarly scattered fairly twisted lines near the underlying three.
That’s all there is to it this step, and we’re ready to progress forward!
Stage 3 – By and by, add a couple of extra vertical lines inside the model
In this next piece of our associate on the most capable technique to draw plaid, we will characterize more vertical limits for the model. These ones will be a piece novel, in any case, as they will as of now be drawn similarly that you characterized the limits in the past advances.
To characterize the limits in this step, you can fundamentally characterize a vertical limit near each second line from the past advances. This will continue to help develop the model as you with going through this helper.
Stage 4 – Add a couple of level lines for your plaid drawing
You’ve been characterizing various vertical limits for your plaid drawing up until this point, so as of now it is the best opportunity to switch all that up a piece by drawing a couple of level ones! These ones won’t be a copy of the principal lines you drew other than sideways, as you could expect.
In light of everything, these lines will be a piece additionally isolated from one another than the vertical lines were. The curve in these level lines will similarly be extremely fairly more twisted than the vertical ones. This will help with showing the bends in the surface for the last plaid drawing.
Stage 5 – By and by, you can incorporate the last nuances for the plaid drawing
You will really need to assortment in your picture very soon, yet before that we triumph ultimately a last nuances to remember this following phase of our helper for the most capable technique to draw plaid. For this step, you can simply characterize one more even limit close to all of the lines that you pulled in the past advance toward genuinely help with fostering the plaid plan.
That will wrap up the nuances of this associate, but before you progress forward with you should feel free to add anything different nuances that you would like! You could do this by changing up the linework a piece. You could loosen up the lines to change up the model a piece.
If you’re feeling extra creative, you could draw a couple of things or make a few dress things that you could put this plaid plan onto. What innovative ways could you anytime consider that you could use to redo this plaid illustration of yours also?
The Impact of Waste Management Software on Your Business
Stage 6 – Finish your plaid drawing with some tone
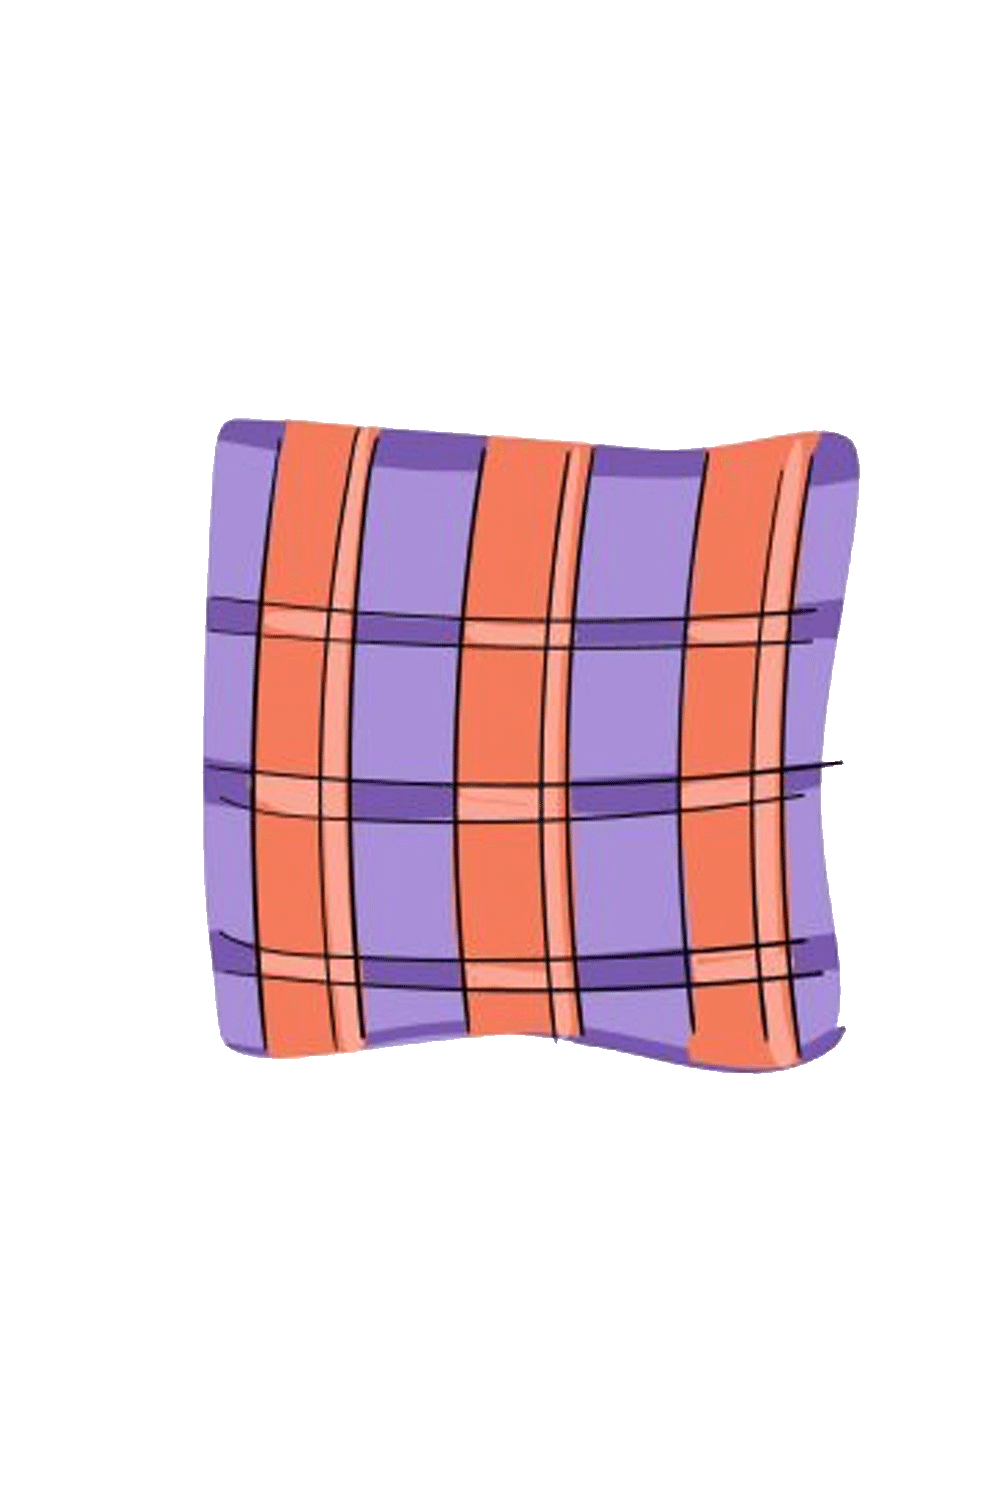
Plaid is habitually commonly associated with explicit tones like red and green. In present situations it has been known to come in various extra and creative assortments, in any case. We went with this technique for our image where e included a pink and purple blend for our model.
This is the kind of drawing where you could genuinely get inventive with your #1 assortments to end up with a well thought out plan! Expecting you drew any extra parts, for instance, a thing or dress for the plaid to be a piece of then that will permit you a potential chance to work in a couple of extra assortments as well.
Anyway, picking which colors you should use is basically part of the clowning around! You can have extensively more silliness by choosing which craftsmanship mediums you should use. For an arrangement like this, dependent upon what kind of look you want you can achieve it fundamentally more effectively with the mediums you pick.
Your Drawing Tutorial Is Complete. So visit the more latest drawing for kids tutorials on cool drawing idea.